

Cat Food Pouch: The Checklist to Lock Before Anything Gets Printed
October 23, 2026Key takeaways – A spout pouch rarely fails at random. Dripping, splashing and seal clogging each follow a short, repeatable chain of causes. – Good spout pouch dispensing control is specified upstream, in the weld, bore, headspace and cap, not rescued at the filling line. – Product viscosity and spout bore must be matched. Most splash complaints are really flow mismatches in disguise. – Seal-area cleanliness and cap torque account for a large share of leak and clog returns. – A small set of bench tests catches most dispensing faults before a full run is committed.
Few things lose a food brand its repeat buyers faster than a pack that makes a mess. A consumer tilts a sauce pouch expecting one clean stream, and instead gets a slow drip running down the side, a sudden splash across the table, or a spout that has quietly packed itself shut. Every one of those moments is a dispensing failure, and every one of them traces back to decisions made well before the pouch reached the filling line. This article treats spout pouch dispensing control as an attribution problem: instead of listing features, we follow the three familiar failure paths, dripping, splashing and seal clogging, back to their causes and forward to the specifications that stop them. The aim is practical. Whether your product is a thick chili sauce, a fruit puree, a salad dressing or a liquid seasoning, the same short list of variables keeps returning, and once you know which one is yours the conversation with a supplier becomes much shorter.
We have written this from the point of view of a Malaysian flexible packaging supplier that works with food brands across the region. That means the emphasis sits on what can actually be measured and adjusted on a real line, rather than on laboratory ideals. Where a figure would be misleading without context, we give a range and explain the conditions behind it. If you are at the stage of comparing structures or trying to understand why a current pack underperforms, treat the sections below as a diagnostic sequence: identify the symptom, locate the cause, then change the specification that owns that cause. For background on the base formats involved, our guide to zipper stand-up food pouch options sets out the closure and geometry choices that a spout is built on.
What Is Spout Pouch Dispensing Control, Really?
The phrase sounds like a single feature, as though a pouch either has it or does not. In practice spout pouch dispensing control is the combined result of four separate subsystems working together: the spout itself, the weld that joins the spout to the film, the headspace left in the pack, and the cap that closes the assembly. A weakness in any one of them shows up as a symptom at the moment of use, which is why faults are so often diagnosed in the wrong place. A buyer sees a leak and blames the film; the real cause is a contaminated weld land. A brand sees a splash and asks for a smaller spout; the real cause is trapped air from an overfilled pack.
The useful way to think about it is in terms of flow. When a consumer tilts a pouch, gravity pushes product toward the opening, air has to enter to replace what leaves, and the film has to collapse in a controlled way. Clean dispensing happens when those three events stay roughly balanced. Dripping happens when flow continues after the tilt stops. Splashing happens when flow arrives in a surge. Clogging happens when flow stops altogether because the passage has been blocked. The specification task is therefore not to make a spout that pours dramatically, but to make a system that pours predictably across the whole life of the pack, from first opening to the last spoonful.
That lifespan point matters more than most briefs acknowledge. A spout that behaves beautifully on a fresh pack can drip badly after six weeks of storage, because the headspace has changed, the product has migrated into the weld area, or the cap liner has taken a set. Proper spout pouch dispensing control is therefore a stability question as much as a geometry question. It should be evaluated on aged samples, in the orientation the pack will actually be stored, and with the real product rather than a water stand-in.

The Three Failure Paths Behind Poor Dispensing
Before changing any specification, it helps to name the path you are actually on. The three symptoms look different on a kitchen table, but they share a habit of starting quietly and worsening with time. Sorting them into distinct paths prevents the common mistake of applying one fix to all three, and it is the first step toward workable spout pouch dispensing control.
Path one, residual drip. Product continues to leave the spout after the user returns the pouch upright. It is usually a surface and pressure problem rather than a hole. Liquid clings inside the bore, the cap cavity fills, and a small amount is pushed out later when the pouch is set down. The user sees a sticky ring on the table and assumes the seal has failed.
Path two, splash or surge. The first tilt produces far more flow than expected, often with air spatters. This is almost always a flow-balance problem: the bore is generous relative to the product, the headspace is large, or the film is too stiff to collapse smoothly. It is common on thin liquids packed in formats designed for thicker ones.
Path three, seal or spout clog. Product builds up at the tip, in the cap threads, or along the inner weld until the passage narrows or closes. High-solid and sugar-bearing products are the usual culprits, especially when a pouch is stored spout-down. The user assumes the spout is faulty; more often the storage orientation and the cap liner are the real drivers.
A useful mental model is to ask, at each complaint, whether the problem is about flow starting, flow stopping, or flow continuing. That single question usually points to the right subsystem. The wider pouch bag for food formats overview is a helpful companion here, because it shows how the base structure changes what a spout has to work against.
Why Does a Spout Pouch Drip After Pouring?
Residual drip is the most reported complaint and the easiest to misdiagnose. The user almost always describes it as a leak, but a true leak and a residual drip have different mechanisms and require different fixes. A leak is a breach in the weld or film that shows product on the outside of the pack even when it is standing still. A residual drip is product that leaves the bore after pouring, usually because it was never fully inside the pouch to begin with.
The first cause to check is the weld land. The spout flange is sealed to the film over a narrow annular band, and any product, oil or dust on that band during sealing creates a microscopic channel. Channels are rarely big enough to gush; they are exactly the size that produces a slow bead after pouring. Because the contamination is invisible once the seal is made, the fault is often only noticed in finished goods. Good practice keeps the sealing area covered until the moment of weld, uses a flange design that sheds product away from the seal zone, and confirms the seal window with peel testing rather than by eye.
The second cause is cap torque. If the cap is applied too loosely, product wicks into the thread and sits there until gravity pulls it out. If it is applied too tightly, the liner can distort and the spout neck can deform slightly, which changes how the last drops detach. Both directions produce drip, which is why the answer is a specified torque range verified on the line rather than a subjective “tight enough” instruction. Torque should be checked at the start of a shift and again after a period of running, because applicator settings drift.
The third cause is bore geometry at the tip. A long, narrow bore holds a small column of liquid that drains slowly once the pour stops. A bore with a sharp internal edge encourages the stream to cling rather than break cleanly. Where dripping is persistent, a short modification to the internal finish at the outlet, or a slight change in tip diameter, often does more than any change to the film. It is worth testing this with the actual product at the actual filling temperature, because viscosity changes with temperature and a warm sauce behaves quite differently from a chilled one.
Headspace is the quiet fourth cause. A pack with too much air does not collapse neatly during pouring; instead it glugs, and each glug pushes a little product back toward the opening. Reducing headspace to a controlled, repeatable level gives the film something to collapse against and makes the end of the pour far cleaner. This is an area where good spout pouch dispensing control is won on the filler rather than on the converter’s floor.
What Makes a Spout Splash Instead of Pour?
Splash is the complaint that most often leads to an unnecessary specification change. A brand sees a thin product flying out of the spout and immediately asks for a smaller opening. Sometimes that helps, but a smaller bore does not address the surge that caused the splash in the first place, and it can make the pack slow and frustrating to empty. The better approach is to work out why the flow arrived all at once.
The first question is viscosity match. A spout sized for a thick puree will deliver a thin dressing in a jet. Flow through an opening rises sharply with diameter, so a modest increase in bore can more than double the rate at a given tilt angle. If your product is on the thin side, select a spout whose internal diameter was developed for low-viscosity liquids, and accept that it will pour more slowly with a thick product. There is no single spout that is ideal for every product in a range, which is why one size fits all is a poor strategy for a multi-SKU brand.
The second question is air replacement. As product leaves, something must take its place inside the pack. If the film cannot fold inward smoothly, air enters through the spout in bursts and each burst throws product outward. Stiff laminates, very full gussets and a base that has lost its shape all make this worse. In a stand-up format, the base gusset has to be able to close progressively; if the structure is too rigid for the product volume, a vented or larger-bore spout may be a more honest answer than a cosmetic change to the label.
The third question is user behaviour, which is more predictable than it sounds. Consumers tilt quickly, often with the pouch held high, and rarely pause at the start of a pour. A somewhat longer neck gives the stream time to settle before it leaves the spout, and a slight taper at the outlet helps the flow stay attached rather than breaking into droplets. These are small design decisions, but they are exactly the ones that separate a pack that feels controlled from one that feels alarming on first use.
Fill volume and headspace return again here, and they are central to spout pouch dispensing control. An overfilled pack has no room for air expansion, so the first tilt forces both air and product out together. Setting a realistic fill level is sometimes the cheapest splash fix available, and it is one that requires no new tooling at all.
Why Does Product Clog at the Seal or Spout Tip?
Clogging is the slowest of the three failures to appear and the most likely to be blamed on the wrong component. It usually develops over weeks rather than days. The user notices that the pour has Become thinner, then that the spout needs a shake, and finally that nothing comes out at all. By the time the pack is returned, the product at the tip has often hardened into a plug that looks like a manufacturing defect.
High-solid products are the leading cause. A sauce with pieces, a puree with fibre, or a dressing with suspended spice will leave solids behind as the liquid fraction drains. Those solids collect at the narrowest point, which is usually the internal transition between the spout bore and the pouch. Over time the deposit builds, the effective bore shrinks, and flow collapses. The countermeasure is a spout with a generous internal radius and as few sharp transitions as possible, together with a bore that is not marginal for the product’s solids load. Where a product is known to separate, a formulation conversation may be more effective than a packaging change.
Sugar-bearing and high-acid products create a different clog: crystallisation or drying at the tip. When a small amount of product remains on the rim after pouring, water evaporates and the dissolved solids are left behind as a crust. A recessed tip, a cap that fully covers the outlet, and a liner that wipes the rim as it closes all reduce this. Storage orientation matters too. Packs stored spout-down keep the tip wet but also push product into the cap cavity, while packs stored upright allow the rim to dry. The right answer depends on the product, and it should be stated on the pack or in the distribution note rather than left to chance.
The weld area can clog as well, though this is less common. If product has been trapped along the seal land during filling, it can cure or dry there and partially block the passage from the pouch side. This is the same contamination issue that causes dripping, seen from a different angle, and it is why seal-area discipline is central to spout pouch dispensing control rather than a secondary housekeeping matter.
Cap design closes the loop. A cap with deep threads gives debris somewhere to collect, while a clean, shallow thread with a well-matched liner is easier to keep clear. Tamper-evident features are valuable for shelf confidence, but they should be chosen with the dispensing behaviour in mind: a tamper band that shreds into the spout creates exactly the fragments that cause a blockage.

Spout Pouch Dispensing Control Starts With Spout Geometry
Once the failure path is named, the spout itself is the first place to look. A spout is a small injection-moulded component with a surprisingly large influence on how a pack behaves, and its geometry should be chosen with the product in mind rather than picked from a catalogue by appearance. Four parameters do most of the work: internal bore diameter, neck length, outlet profile and material.
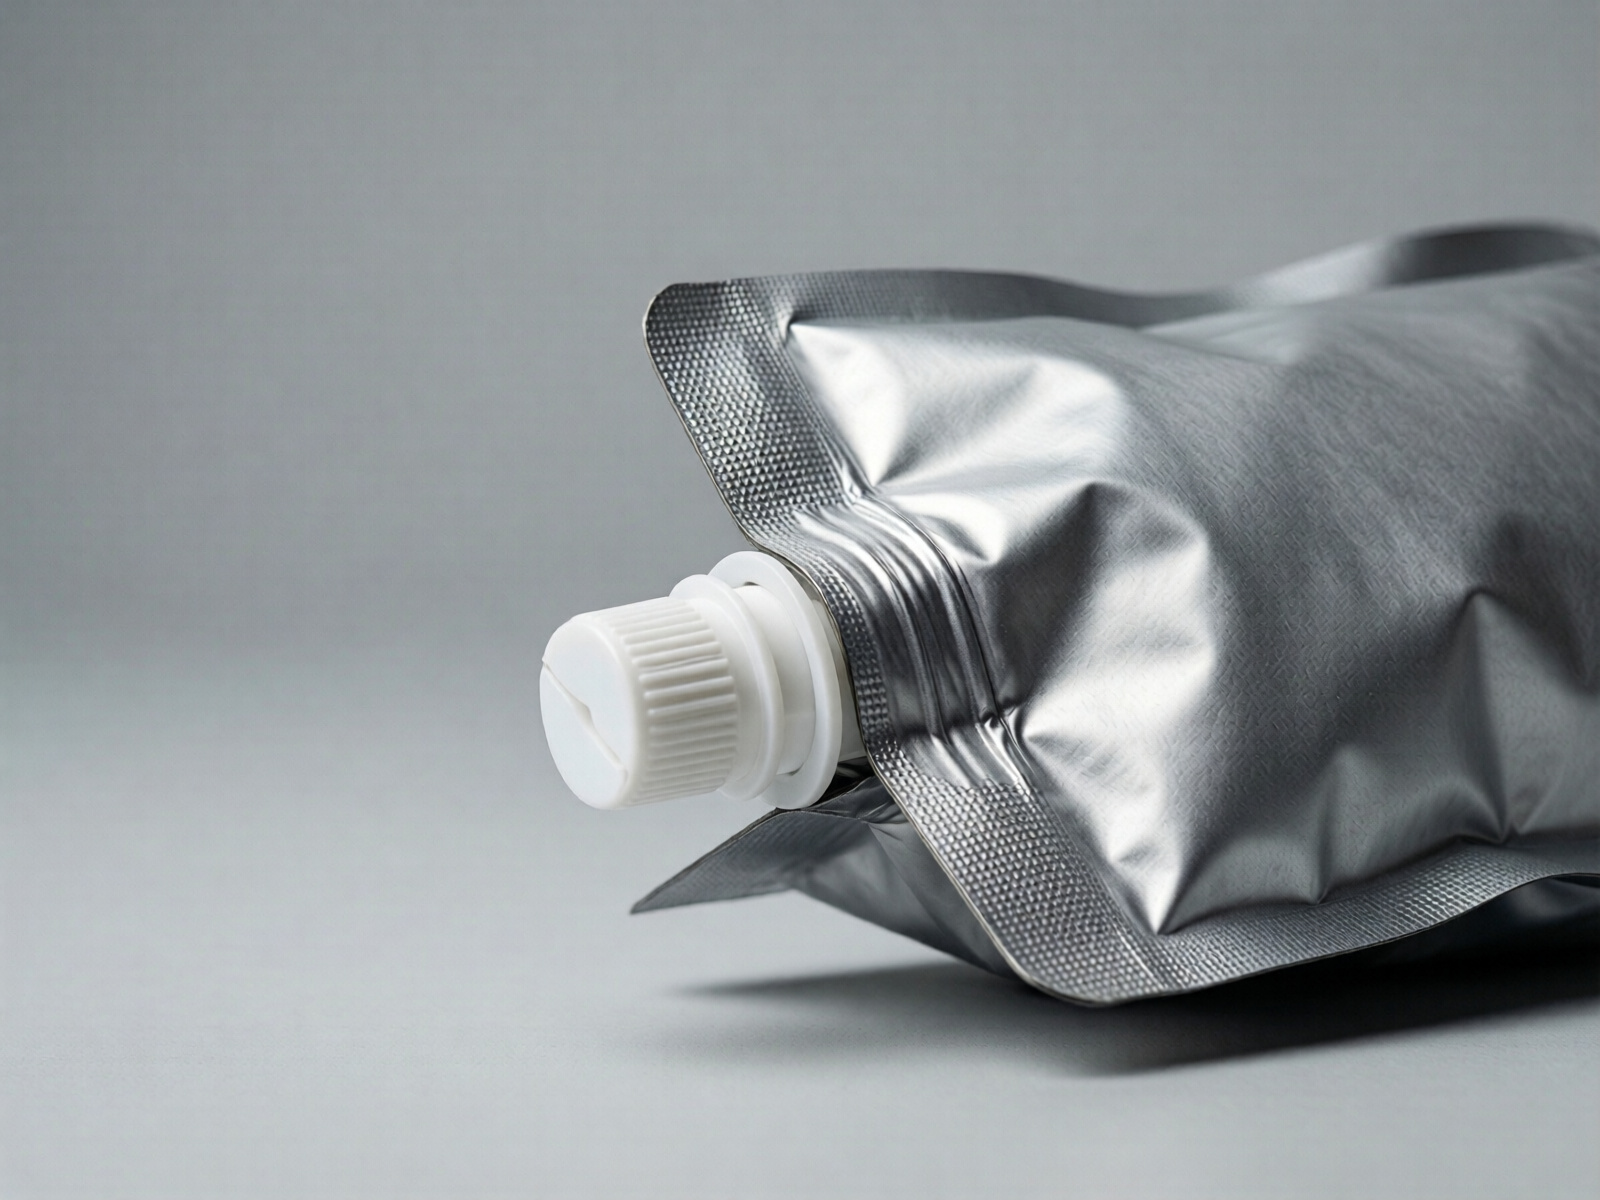
Internal bore diameter sets the maximum flow rate. It should be selected from the product’s viscosity and the intended serving size, not from the size of the pack. A family-size pouch does not automatically need a wide spout; what it needs is a spout that empties the pack in a reasonable number of pours without surging. For thin liquids a smaller bore gives control; for thick products a larger bore prevents the user from squeezing the pack until the film distorts. As a starting point, compare the bore against the smallest practical opening that still passes the product without excessive squeeze pressure, then test one step up and one step down.
Neck length influences how the stream settles. A longer neck gives product time to form a coherent stream before it exits, which reduces splashing at the start of a pour. It also adds a small internal surface where residue can collect, so the benefit has to be balanced against cleanability. For thin products the settling benefit tends to dominate; for sticky products a shorter neck with a smooth internal finish is often better.
Outlet profile is where drip is won or lost. A sharp-edged outlet makes the stream cling and break late, while a gently radiused outlet encourages a clean separation. Small changes here are cheap in tooling terms and can be tested late in development, which makes the outlet profile one of the most efficient levers available.
Material choice affects both feel and compatibility. Polyethylene spouts are soft and forgiving, and bond well to common sealant layers, while polypropylene offers more rigidity and heat resistance for products filled warm. The material also determines how the cap threads wear over repeated opening, which matters for a pack that will be resealed many times. If your product is filled hot or contains oil that attacks weaker polymers, raise this early rather than discovering it during shelf trials. The resources at Packaging Digest are useful for keeping up with spout and closure developments when you are weighing options.
Film, Weld and Headspace: The Quiet Variables
It is tempting to treat dispensing as a spout-only problem, but the film and the way it is assembled often decide whether the spout can do its job. The most important relationship is between the spout flange and the sealant layer of the laminate. They have to weld across the full annular band at a temperature and pressure that neither burns the film nor leaves a weak bond. Different sealant layers have different seal windows, and a spout developed for one may need different settings for another. When changing film, always revalidate the spout weld rather than assuming the old parameters carry over.
Seal strength needs to be high enough to survive transport and handling, but not so high that the laminate tears instead of the weld releasing in a peel test. That balance is what lets you detect a contaminated seal during development. A peel test that shows a clean, cohesive failure across the band is a good sign; a test that shows isolated weak spots is a warning that product or contamination is interfering. This is one of the few checks that directly predicts field dripping, so it belongs in routine quality control rather than only in initial trials.
Film stiffness changes how the pouch collapses. A soft film follows the product down and keeps air movement gentle, while a stiff film bridges and then releases suddenly, producing the glugging that causes splash. If your current pack splashes and the spout already looks well matched, try a slightly softer sealant or a gusset geometry that folds more progressively before investing in new spout tooling.
Headspace deserves its own line on any specification sheet. Too much air gives a pack that glugs and splashes; too little leaves no room for expansion and can cause the pack to bulge or the seal to be stressed in transit. The right level depends on the product’s behaviour over temperature and on whether the pack will travel through a hot distribution chain. Specify a target and a tolerance, then verify it on filled packs rather than relying on the filler setting alone.
Stand-up geometry interacts with all of this. A pouch that sits upright presents the spout at a convenient angle and empties in a controlled sequence, which is why it is the default choice for pourable foods. Our wider notes on food pouch manufacturers and structure selection cover how the base, gusset and closure decisions are made together, and they are worth reading before locking a new spout specification.
A Specification Checklist You Can Actually Use
The table below pulls the failure paths into one working document. It is deliberately organised by symptom so that a brand or a buyer can start from what they see and work backwards. Treat the values as starting points for a conversation, because the right number always depends on the product and the line.
| Failure symptom | Most likely cause | Specification lever | Confirmation test |
|---|---|---|---|
| Drip after pouring | Contaminated spout weld land | Seal-area cover, flange design, seal window | Peel test across the weld band |
| Drip after pouring | Cap torque out of range | Specified torque band, shift checks | Torque audit on finished packs |
| Drip after pouring | Long or sharp-bore outlet | Radiused outlet, shorter tip | Timed drain test with real product |
| Splash on first tilt | Bore too wide for viscosity | Downsize bore or change spout family | Flow-rate comparison at fixed tilt |
| Splash on first tilt | Excess headspace, stiff film | Headspace target, softer sealant | Fill-weight and collapse check |
| Splash on first tilt | Short neck, abrupt outlet | Longer neck, tapered outlet | Consumer pour observation |
| Clog at tip | High solids, sharp internal transition | Generous bore radius, fewer steps | Soak and refill cycle test |
| Clog at tip | Crystallisation on the rim | Recessed tip, wiping cap liner | Storage orientation trial |
| Clog at seal | Product trapped in the weld band | Cleaner filling, covered seal zone | Cross-section of returned packs |
| Intermittent leak | Cap liner taking a set | Liner material and torque review | Aged-sample leak check |
Two habits make this table far more useful in practice. First, record the product temperature at the time of the complaint, because viscosity shifts can imitate a mechanical fault. Second, keep returned samples unopened until they have been examined, since cleaning a spout before inspection destroys the evidence you most need. Good spout pouch dispensing control depends as much on disciplined observation as on the specification itself.
How to Test Before a Full Production Run
Most dispensing faults reveal themselves in a short, inexpensive programme of bench tests. The aim is not to reproduce a decade of shelf life in a week, but to catch the obvious mismatches while changes are still cheap. Four tests cover the majority of cases.
A leak check on filled samples identifies weld channels before they reach market. Submerge packs under controlled vacuum or use a dye ingress method, and inspect the spout weld specifically rather than only the body seals. Run it on a sample taken at the start, middle and end of a trial so that drift in sealing conditions is visible.
A flow-rate comparison measures how much product leaves in a fixed time at a fixed tilt. Test the current spout and at least one alternative with the real product at two temperatures. This single test resolves most splash disputes, because it turns a subjective complaint into a number that can be compared across options.
A drain and residue test addresses dripping. Pour a measured quantity, return the pack upright, and weigh what leaves in the following minute. Repeat after the pack has been stored for a period, since residue behaviour often changes as the product settles or the liner ages.
An ageing and orientation trial addresses clogging. Store packs upright and spout-down for several weeks at representative temperatures, then pour them without cleaning the tip. Record how the flow changes. Where a product is prone to crystallisation, this trial is the only reliable way to choose between tip designs.
For broader context on how flexible packs are evaluated in the industry, the technical discussions hosted by the Food Packaging Forum are a good reference point, particularly on migration and shelf-life interactions that can be overlooked in an in-house test programme.
Frequently Asked Questions
Why does my pouch drip only after it has been stored for a while? Storage changes the product, the liner and the headspace. A pack that poured cleanly when fresh can drip once the liner has taken a set or the product has migrated toward the weld. Test aged samples, not just new ones.
Can I fix splashing simply by using a smaller spout? Sometimes, but only if the splash is caused by bore size. If it is caused by trapped air or a stiff film, a smaller spout will slow the pour without removing the surge. Measure flow first.
What is the most common cause of a clogged spout? Residue accumulating at the narrowest internal point, usually because the product has solids or dissolved sugars. Bore radius, tip design and storage orientation are the three levers that help most.
Does cap torque really affect dispensing? Yes. Loose caps allow product into the threads, and overtightened caps can distort the neck or liner. Both produce drip. Specify a torque range and check it during production.
Can one spout design serve an entire product range? Rarely. Thin and thick products want different bores. It is more effective to group your range by viscosity and choose one spout per group than to force a single component to cover everything.
How early should dispensing be tested in development? As soon as real product is available. Waiting until artwork is final makes changes expensive, and the most useful tests require only a few filled samples.
Conclusion: Getting Spout Pouch Dispensing Control Right
Reliable spout pouch dispensing control is not a matter of luck or of paying for the most elaborate component. It comes from matching a small set of variables to the product and then holding those variables steady through production. Drip is usually about the weld, the cap and the outlet. Splash is usually about bore, air replacement and headspace. Clogging is usually about solids, crystallisation and the storage position. Once you name the path, the correct specification lever becomes obvious, and the number of unnecessary changes drops sharply.
If you are currently chasing one of these symptoms, start with the simplest evidence: a peel test on the spout weld, a flow comparison with real product, and a poured sample that has been stored in the orientation your customers actually use. Those three checks will point to the right subsystem in most cases. From there, adjust one variable at a time and re-test, because changing the film, the spout and the headspace simultaneously tells you very little about which one mattered.
Production lead time for a new spout specification generally runs 10–12 weeks, while simpler unprinted formats can be arranged in 5-7 weeks; confirm the current position for your specification and volume before committing to a launch date. Sampling arrangements, any expedited options, freight and the dispatch point should also be agreed with our sales team rather than assumed.
To discuss a specific product, share its viscosity, solids content, intended serving size and whether it is filled warm. You can discuss your spout specification with us and we will work back from the symptom to a specification rather than offering a generic quote.